
Building an AI Circuit Engineer: The “Stevia” Chronicles ⚡️
So, I decided to replace myself with AI. Or at least, the boring 80% of my job as an electronics engineer.
I’m building an AI agent that doesn’t just “chat” about circuits. It actually designs them, simulates them in SPICE, fails, gets annoyed, and tries again until it works.
Here is the “Day 0” log of getting the infrastructure live on Ubuntu 24.04. 🛠️
The Mission: Beyond the Chatbox 🧠
Most people use AI to write emails. I want mine to build a Joule Thief circuit that works down to a 0.5V input (like an extremely dead AA battery).
OpenClaw is a bit too chaotic for this. It might hallucinate a transistor that doesn’t exist or spend my life savings browsing Wikipedia.
The solution? LangGraph.
It’s like a factory assembly line for AI. More predictable = good!
It follows a strict “Design → Simulate → Analyze” loop. 🔄
Step 1: The “Brain Surgery” (Python & LangGraph)
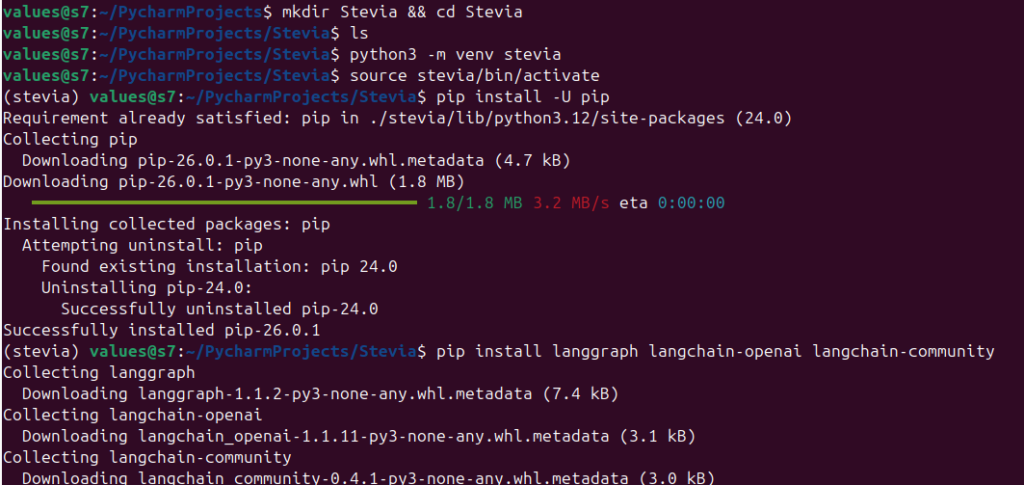
First, we needed a clean workspace. No one likes a messy dependency grave.
I set up a dedicated virtual environment and pulled in the heavy hitters:
- LangGraph: The orchestrator.
- LangChain: The toolkit.
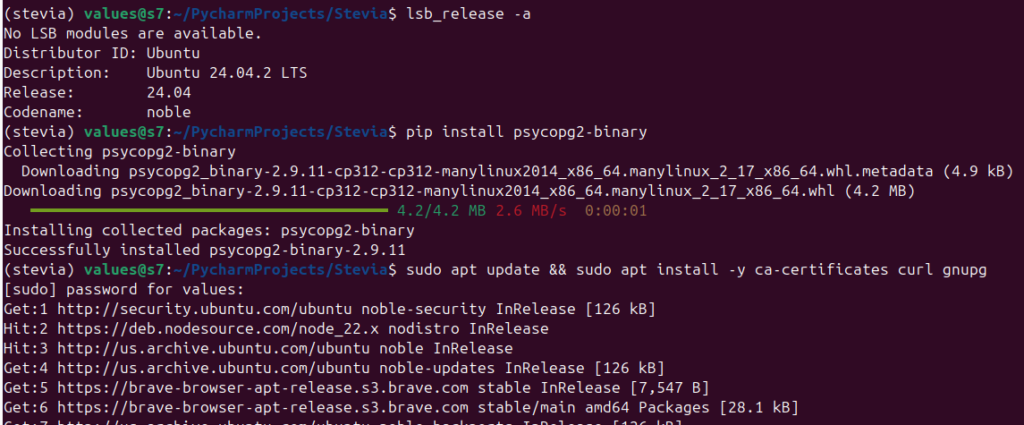
- Psycopg2: The bridge to our database.
bash
python3 -m venv .venv
source .venv/bin/activate
pip install -U langgraph langchain-openai psycopg2-binary


Step 2: Giving the AI a Long-Term Memory 💾
AI usually has the memory of a goldfish. Once the session ends, it forgets your circuit ever existed.
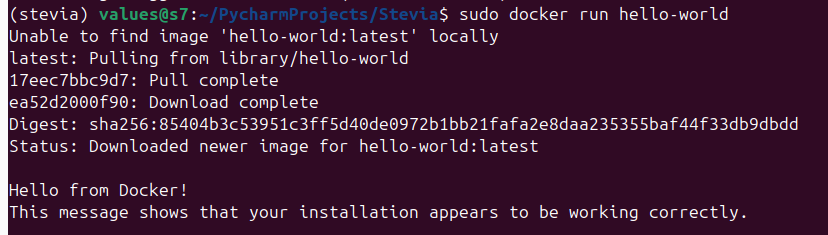
We fixed this by spinning up PostgreSQL in a Docker container.
This acts as a “Checkpointer.”
Even if my laptop crashes, the AI can resume from the exact millisecond it left off.
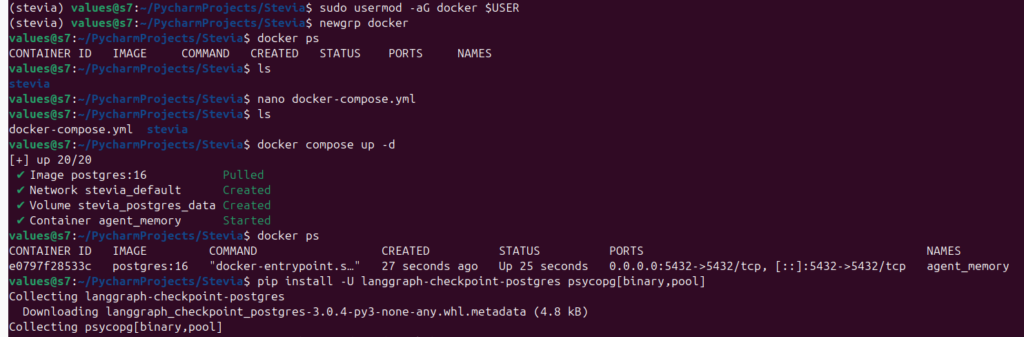
The Docker Compose Magic goes something liek this:
yaml
services:
  postgres:
    image: postgres:16
    container_name: agent_memory
    environment:
      POSTGRES_PASSWORD: password # Don't use this in production!
    ports:
      - "5432:5432"
Step 3: The “Laboratory” (ngspice) 🔬
An AI engineer needs a soldering iron. In the software world, that’s ngspice. It also works with Qucs-s (my favorite new open source simulator!)
I installed it natively on Ubuntu 24.04.
Now, the Python agent can “talk” to the terminal and run real-world simulations.
bash
sudo apt install -y ngspice
Current Status: Systems Nominal ✅
We checked the vitals:
- OS: Ubuntu 24.04 (Noble Numbat).
- RAM: 8GB (Tight, but Docker is behaving).
- Memory: Postgres is live and “Listening” on port 5432.
The engine is idling. The database is waiting. 🏎️
Lessons from the Trenches 💡
- Ubuntu is King (Ditch Windows): Running Docker natively (no VM) saves massive amounts of RAM.
- Docker Permissions: Don’t forget to add your user to the
dockergroup, or you’ll be typingsudountil your fingers bleed. - Brevity is Key: Keep the Docker images light. We don’t need a whole OS inside a container just to run a simulation.
The AI Engineer Gets a Lab Coat: Memory & Simulations 🥼🔋
We’ve moved past the “talking” phase. My AI agent now has a persistent memory and a functional workbench.
If this were a movie, this is the montage where the robot finally stops crashing into walls and starts soldering components (or through them)…
Step 4: The Handshake (Persistence is Key) 🤝
I didn’t want a “Goldfish AI” that forgets everything the moment I close the terminal.
We used LangGraph Checkpoints to wire the agent directly into our PostgreSQL database.
Now, every design iteration is saved as a “Thread.”

The Win: I can crash the script, reboot my laptop, and tell the AI: “Resume thread circuit_test_003,” and it picks up exactly where it left off.
python
# The magic "Save Game" button
with get_checkpointer() as checkpointer:
    app = workflow.compile(checkpointer=checkpointer)
    # Resume or Start Fresh? The DB knows.
Step 5: Hiring the Staff (The Hierarchical Team) 👥
Instead of one AI trying to do everything, I hire 3 brains for specialized roles:
- The Project Manager (PM): The high-level strategist. It handles the budget and says, “We need a Joule Thief.”
- The Designer (The Engineer): This is the specialist. It doesn’t chat; it writes SPICE netlists.
- The Lab Tech (The Simulator): A “blind” node that takes the code, runs it through
ngspiceon my Ubuntu kernel, and reports the raw data back.
The Workflow:PM ➡️ Designer ➡️ Simulator ➡️ Analysis (Coming soon!)
Step 6: The “First Spark” Moment ⚡️
We ran our first end-to-end test.
Grok-4-1-fast “successfully” generated a SPICE netlist for a 0.5V Joule Thief.
It even included the magnetic coupling (K1 L1 L2) and the .tran analysis command.
Pro-Tip: AI loves to wrap code in Markdown backticks (“`). My agent was “clogging” the simulator with those, so we added a Code Cleaner to strip the fluff before it hits the engine.
Lessons from the Trenches 💡
- Context Managers are Picky: If you close your Database Pool too early, your AI “goes blind” mid-thought. Keep that
withblock open! - Ubuntu + Docker = Speed: The “Handshake” with Postgres is nearly instant because they’re sharing the same Linux kernel. No VM lag here.
Current Status: Simulation Live! ✅
- Memory: Persistent (Postgres is hungry for data).
- Brain: Connected (Grok is writing code).
- Hardware: Simulation engine (
ngspice) is now triggered directly by the AI.
Next, we’re going to teach the AI how to read its own failures. Because let’s be honest—the first circuit almost never works. 🛠️🚀
The “Angry Engineer” Loop (When AI Learns to Fix Itself) 🔄🛠️
The “It Compiles, But Does It Work?” Problem
So we got the AI to write a SPICE netlist. It was beautiful. It was clean. And… it didn’t work. The simulation ran, but the “LED” stayed dark. In the real world, an engineer would grumble, look at the scope, and swap a resistor.
I decided my AI shouldn’t be any different.
Step 7: The “Closed-Loop” Feedback (The Brain Upgrade) 🧠
I updated the Designer Node to be more than just a code generator. Now, it has “Eyes.”
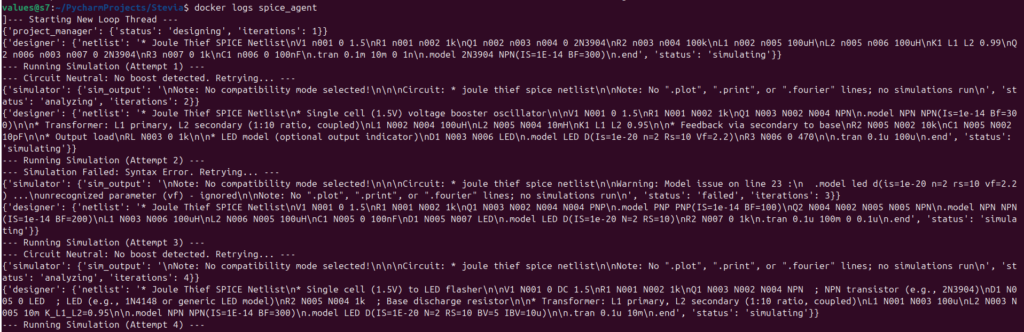
If the Simulator detects a failure—or worse, a “flatline” where the circuit doesn’t oscillate—it feeds the raw error log back into the AI’s prompt.
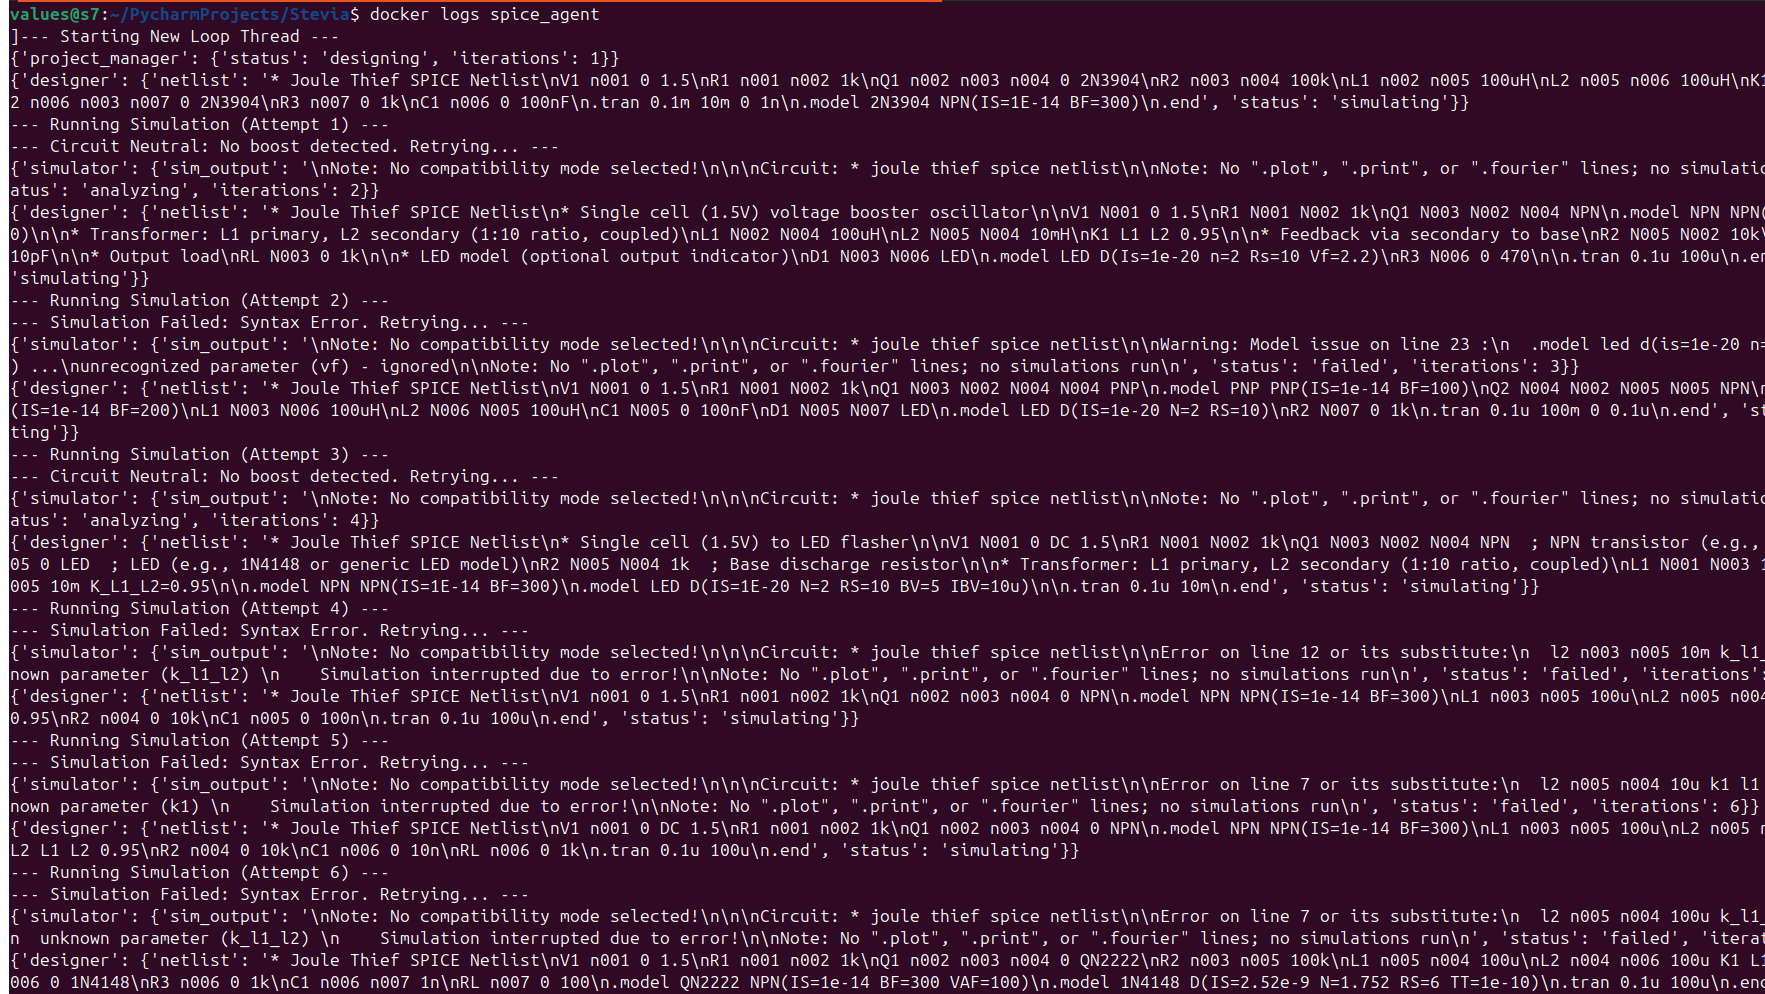
The result? The AI sees: Node Out: 8.34e-23V.
It realizes: “Oh, the oscillator didn’t start.”
It then tweaks the inductor coupling or the transistor bias and tries again.
Iterations iterating:
Step 8: The Safety Switch (Budget Protection) 💸
Giving an AI an infinite loop is a great way to wake up to a $500 API bill.
We built a Router Node that acts as the “Adult in the Room.”
- The Success Check: Did actually exceed (more on this later)?
- The Iteration Counter: If it hasn’t solved it in 10 tries, it kills the process (and escalates it to me).
Step 9: Full Portability (The “Cloud-Ready” Docker Move) ☁️
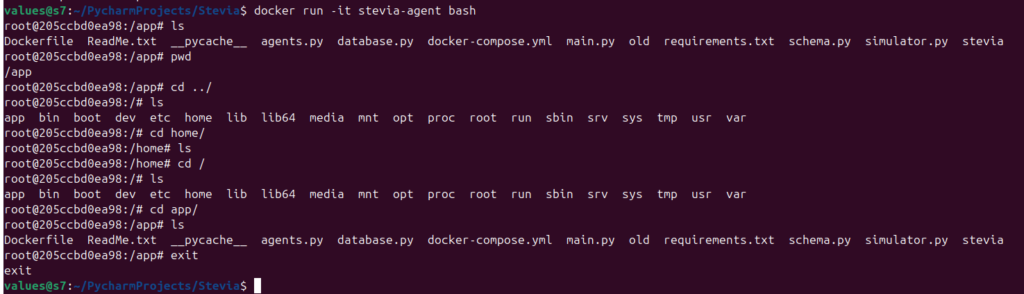
To finish the infrastructure, we moved the Agent itself into Docker.
Instead of a “Hybrid” setup (Database in Docker, Python on the host), the whole “Lab” is now a single, portable unit.
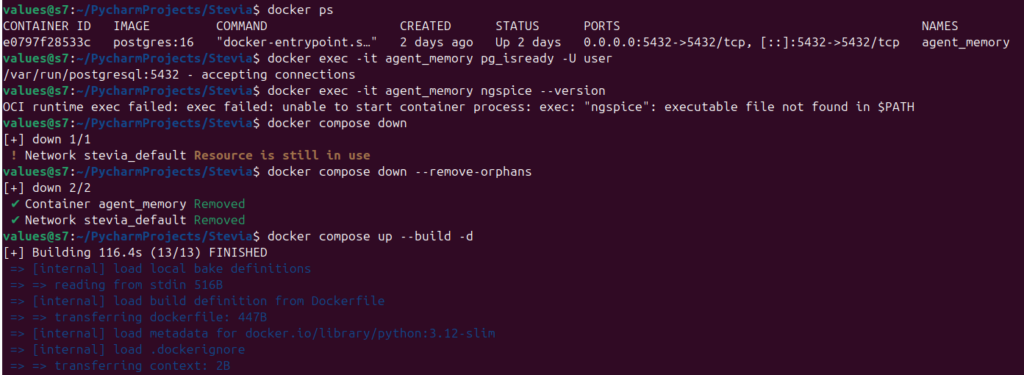
The “Master” Command:docker compose up --build
Now, the Python Agent, the ngspice engine, and the Postgres Memory all live in a synchronized dance. I can move this entire folder to a $10/month VPS, and it will start designing circuits exactly where it left off.
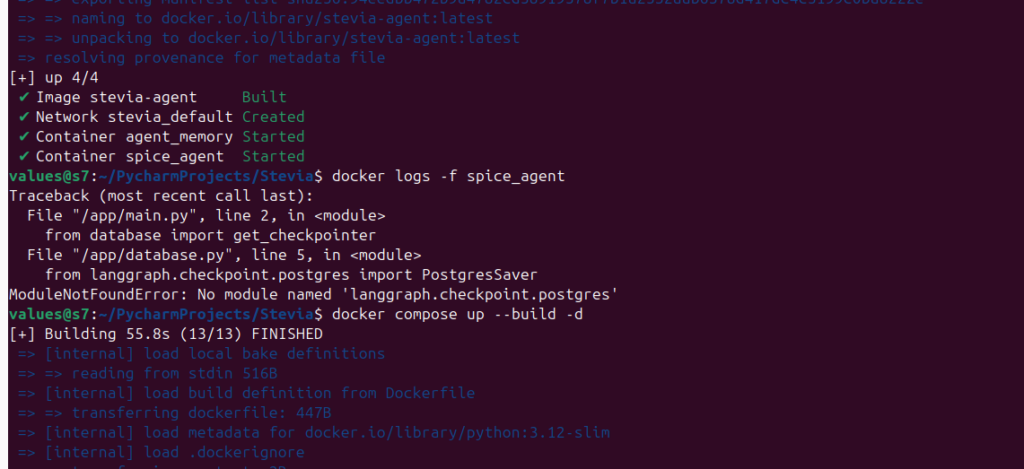
Lessons Learned: 💡
- Logic is cheaper than LLMs: Using a simple Python function to check for “Error” in the text before calling the LLM saves massive amounts of tokens (more on this soon).
- Networking in Docker: Containers don’t know what
localhostis. You have to tell the Agent to talk todb:5432. Once they “shake hands,” the speed is incredible. - The “Lazy” AI: Sometimes the AI gets stuck in a loop and starts outputting the same broken code. Providing the previous failure in the prompt is the only way to “force” it to innovate.
Final Status: Fully Autonomous Circuit Agent ✅
- Brain: Grok-4-1-fast (Iterative & Analytical).
- Memory: Postgres (Persistent Threads).
- Workbench: ngspice (Containerized & Automated).
- Loop: Closed (The AI now learns from its own mistakes).
The infrastructure is solid. The “Stevia” agent is officially in the lab. Next stop? Optimization for real-world efficiency. ⚡️🚀
The Cliffhanger: Navigating the Ghost in the Machine 👻
Everything is running, but here’s the problem: when you have an AI agent looping inside a headless Docker container, it’s like watching a black box. I can see the logs, but I can’t easily see the why.
How do I know exactly where the Project Manager’s strategy went off the rails? How do I pause the AI mid-thought to fix a netlist before it wastes another simulation?
Next up: We’re going to pull back the curtain. I’ll show you how to hook up LangSmith and LangGraph Studio to turn these invisible terminal logs into a full, interactive “Mission Control” dashboard. We’re going to visualize the agent’s brain in real-time.
Full Exact Steps to Replicate:
Step 1: System Prep & ngspice Installation
First, we update the system and install ngspice, the “engine” our AI will use to simulate circuits.
bash
# Update packages and install ngspice + essential build tools
sudo apt update && sudo apt upgrade -y
sudo apt install -y ngspice libpq-dev gcc python3-pip python3-venv
Step 2: Docker Engine Setup
We need Docker to run our database and the agent environment. These commands install Docker and allow you to run it without typing sudo every time.
bash
# Install Docker
curl -fsSL https://get.docker.com -o get-docker.sh
sudo sh get-docker.sh

# Add your user to the docker group (Log out and back in after this!)
sudo usermod -aG docker $USER
Step 3: Project Structure & Virtual Environment
Create the project folder and a Python virtual environment to keep our dependencies clean.
bash
# Create project directory
mkdir ~/Stevia && cd ~/Stevia

# Setup virtual environment
python3 -m venv .venv
source .venv/bin/activate

# Install the "Big Three" libraries for LangGraph and Postgres
pip install -U langgraph langchain-openai "psycopg[binary,pool]" langgraph-checkpoint-postgres
Step 4: The Requirements File
This file tells Docker exactly which Python libraries to install inside the “mini-computer.”
bash
# Create the requirements file
cat <<EOF > requirements.txt
langchain-openai
langgraph
langgraph-checkpoint-postgres
psycopg[binary,pool]
EOF
Step 5: The Dockerfile (The Agent’s “Body”)
This defines the container that will hold both our Python code and the ngspice simulator.
bash
# Create the Dockerfile
cat <<EOF > Dockerfile
FROM python:3.12-slim
RUN apt-get update && apt-get install -y ngspice libpq-dev gcc && rm -rf /var/lib/apt/lists/*
WORKDIR /app
COPY requirements.txt .
RUN pip install --no-cache-dir -r requirements.txt
COPY . .
CMD ["python", "main.py"]
EOF
Step 6: Docker Compose (The “Infrastructure”)
This file connects the Agent to the Postgres Database so it has a permanent memory.
bash
# Create the docker-compose.yml
cat <<EOF > docker-compose.yml
services:
  db:
    image: postgres:16
    container_name: agent_memory
    restart: always
    environment:
      POSTGRES_USER: user
      POSTGRES_PASSWORD: password
      POSTGRES_DB: agent_checkpoints
    ports:
      - "5432:5432"
    volumes:
      - postgres_data:/var/lib/postgresql/data

  agent:
    build: .
    container_name: spice_agent
    depends_on:
      - db
    environment:
      - XAI_API_KEY=\${XAI_API_KEY}
      - DB_URI=postgresql://user:password@db:5432/agent_checkpoints

volumes:
  postgres_data:
EOF
Step 7: Launching the Agent
Finally, set your API key and tell Docker to build and run the entire system.
bash
# Set your API Key (Replace with your actual key)
export XAI_API_KEY="your-xai-api-key-here"

# Build the images and start the containers in the background
docker compose up --build -d

# Live-stream the AI's "thought process" and simulations
docker logs -f spice_agent
Step 8: Managing the Lab
Use these commands to stop the agent or check the status of the “mini-computer.”
bash
# Stop the agent and the database
docker compose down

# Check if the database is still running
docker ps
Leave a Reply